2013-09-29 - 9207 - Process Procedure - Pur. Req release process by cost center - Mass creation of Positions #ReleaseProcedure
9207.100 - Process Procedure - Pur. Req release process by cost center - Mass creation of Positions
Summary Description
Mass creation of positions and assignment of users to setup the purchase requisition release process.
Admin Info
| Title |
Mass creation of positions |
| Requested by |
Rahul Attarde |
| Created Date |
02-07-2014 |
| Approved by |
Laxman |
| Approved Date |
02-07-2014 |
| Status |
Completed |
Detailed Description
This document describes mass creation of positions and assigning the users to that different positions using LSMW.
First we need to get the data from legacy system into a format that SAP system can read. The data needs to be put in an Excel sheet in a specified format which is then converted to a text file referred to as a flat file.
Once the data is prepared, it can then be uploaded into the SAP System. This is done by using an SAP data transfer program (which is available in SAP by default) that reads the flat file and moves it into the SAP System.
Process Flow & Navigational Steps
(Include Screen Shots if required)Please find below the detailed Steps need to be executed to create the positions in MASS and assigning users.
Step 1: MASS creation of positions.
Create and upload the file.
First we need to create a flat file as shown below in XLS format. Then convert in to text file.
Then upload this file in the application server using CG3Z transaction as shown below.


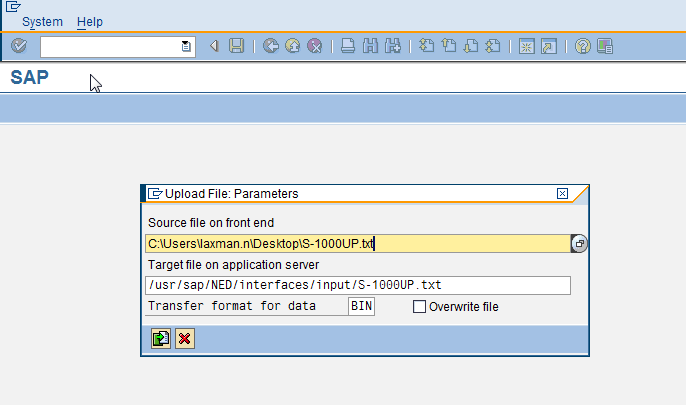
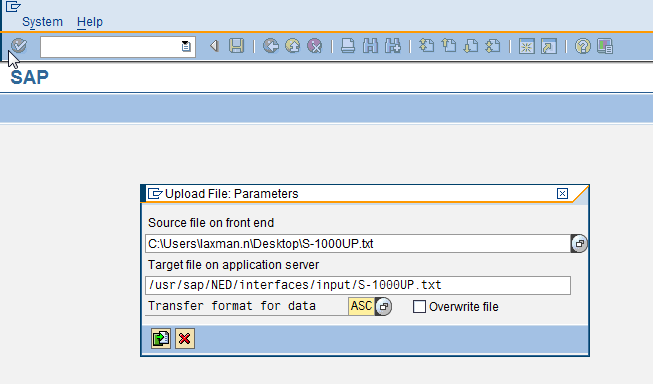
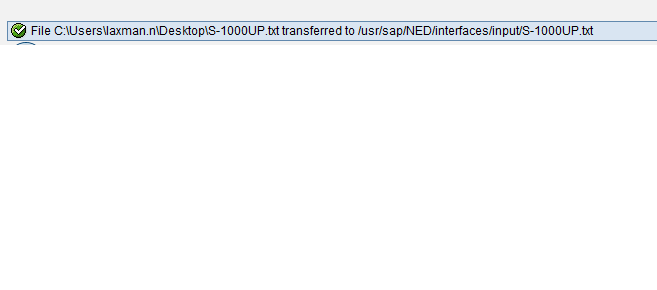
Create position by executing the program.
Then execute the program RHALTD00 to create the positions as shown below.
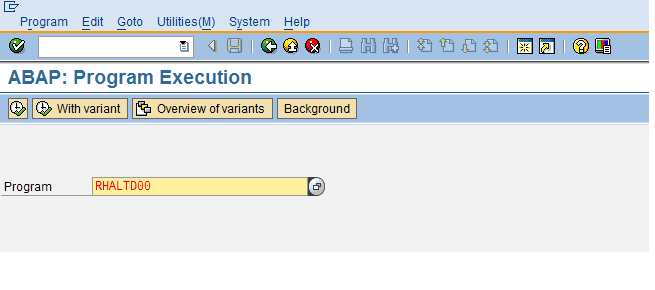
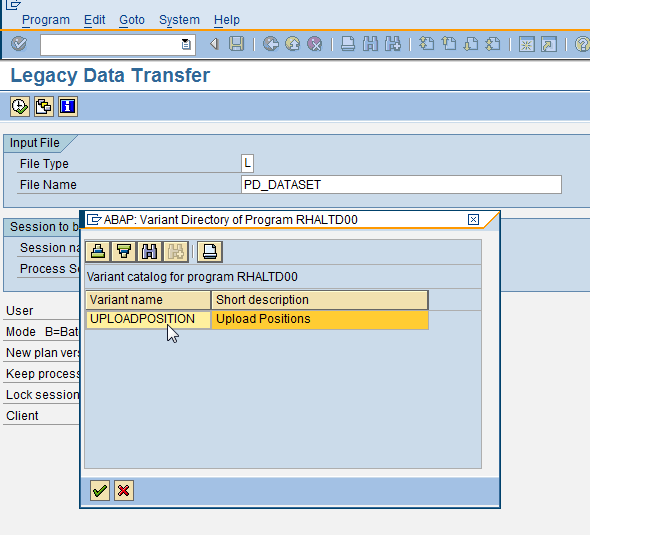
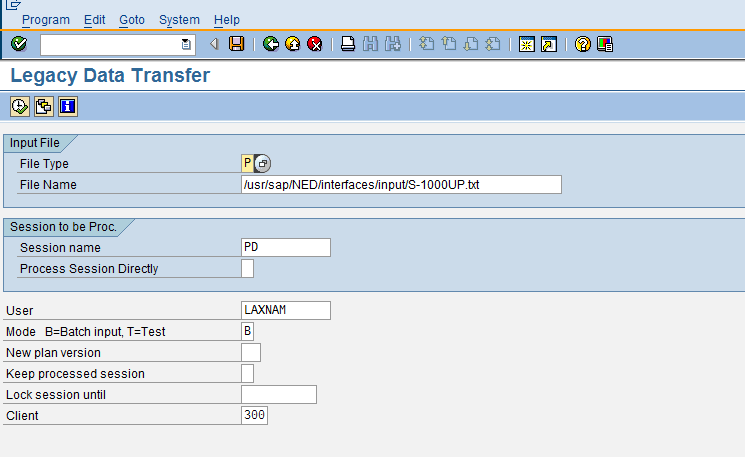
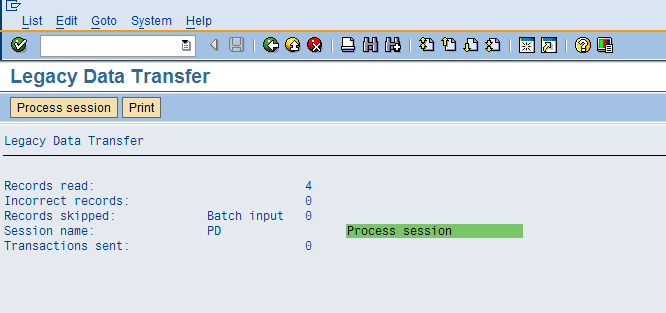
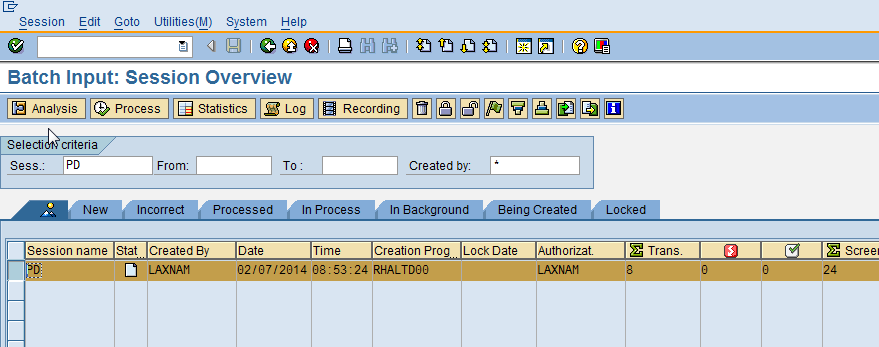
After completion of this program a batch input session will be created in SM35 transaction and from there we need execute in back ground as shown below.
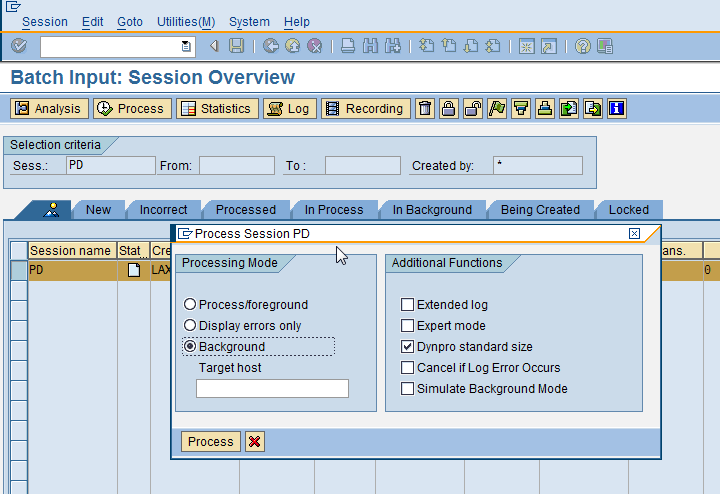

From the above table HRP1000, we can understand that positions are created.
Step 2: Assign the users to positions.
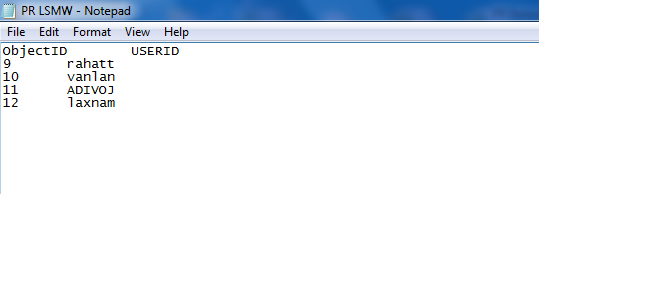
From the HRP1000 table we need to get the object ID of different positions and specify the corresponding user IDs to make the text file as shown above.
Then execute the below LSMW by specifying the correct text file name.
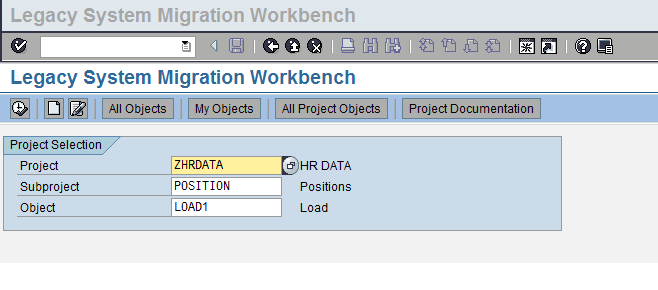
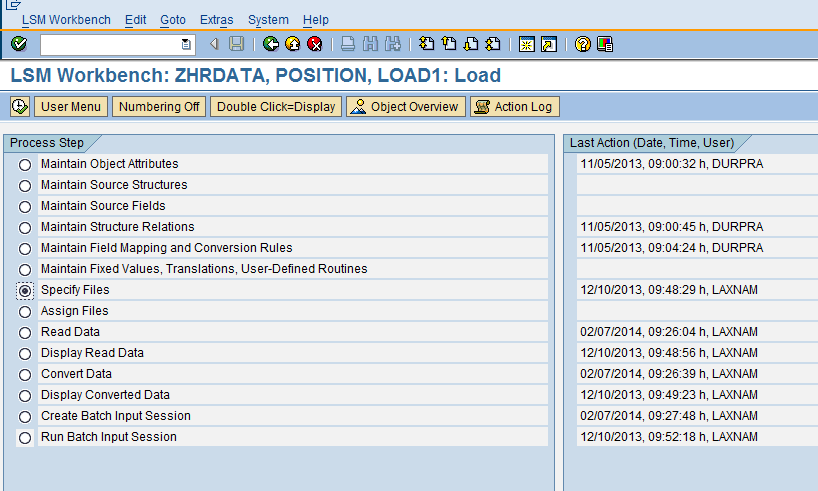
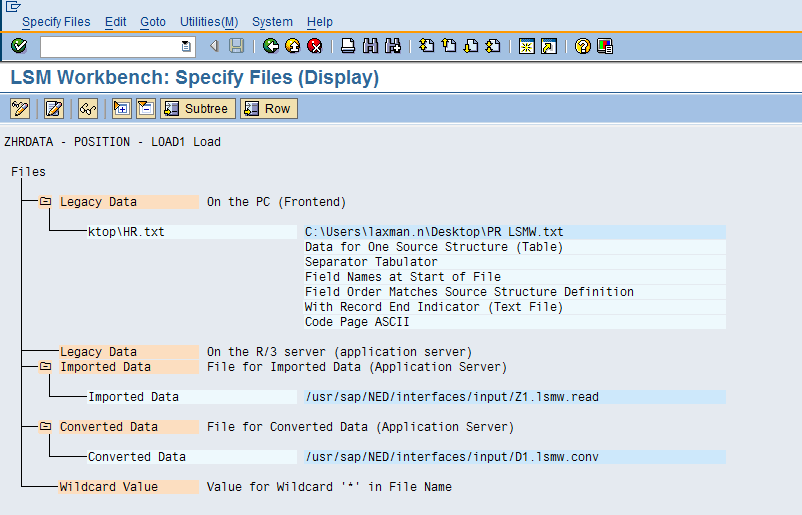
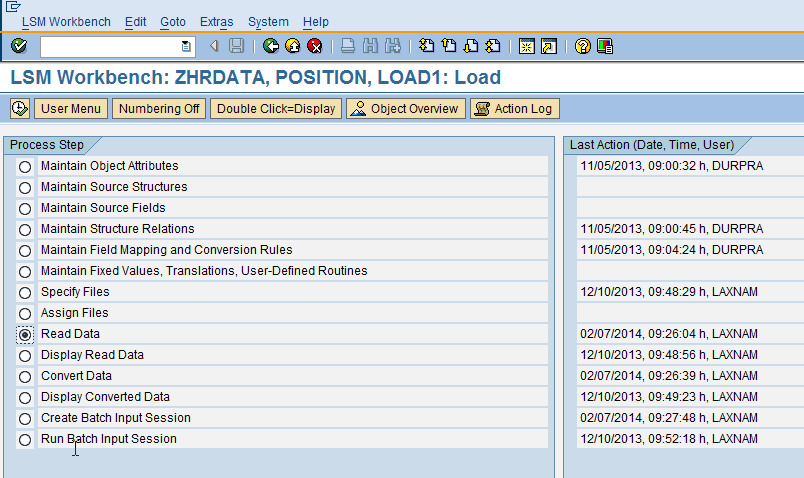
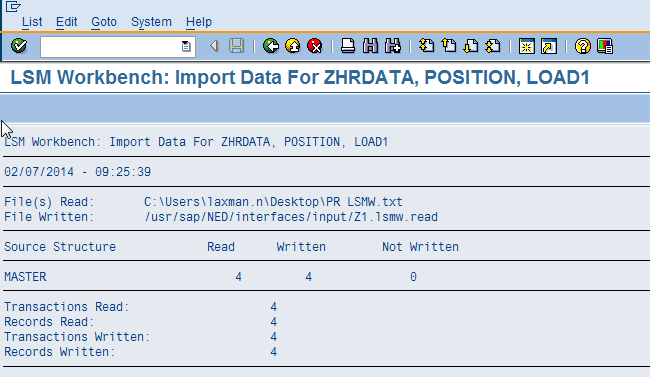
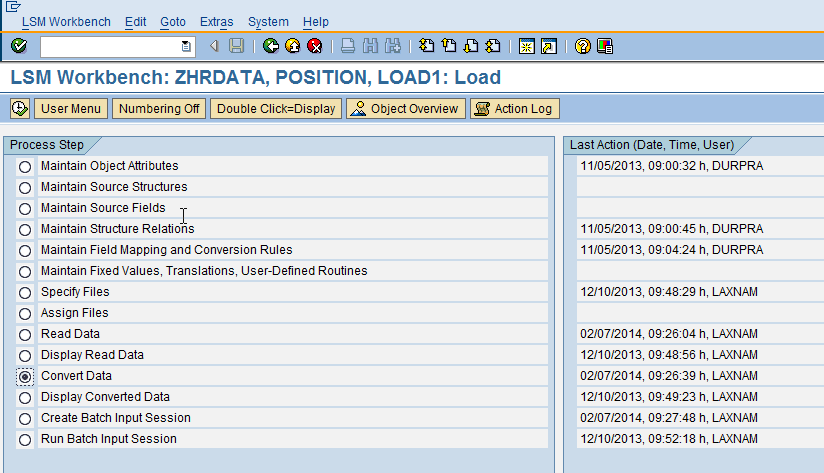
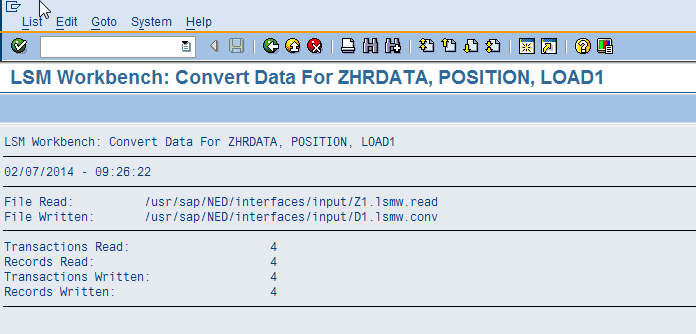
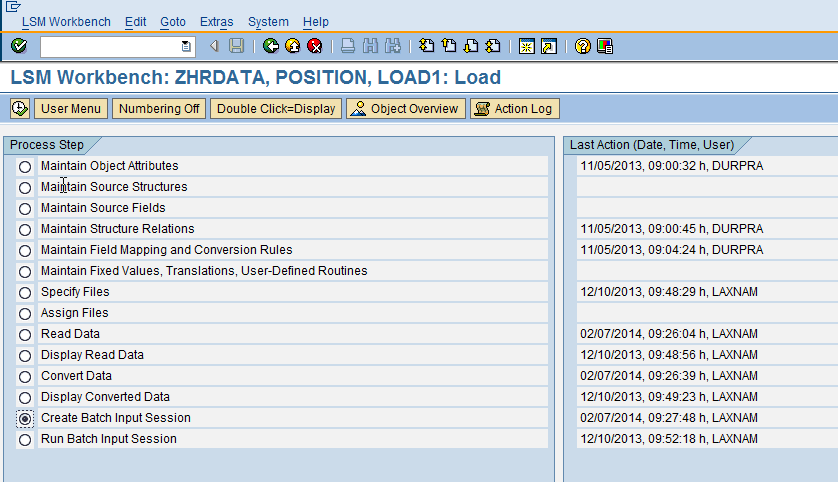
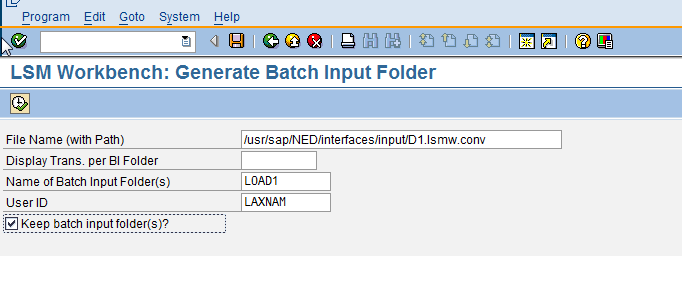
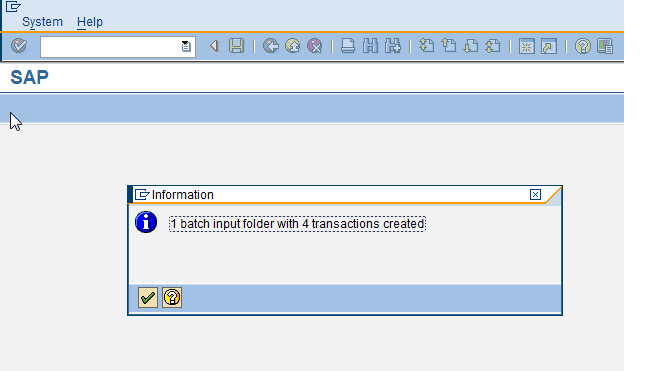
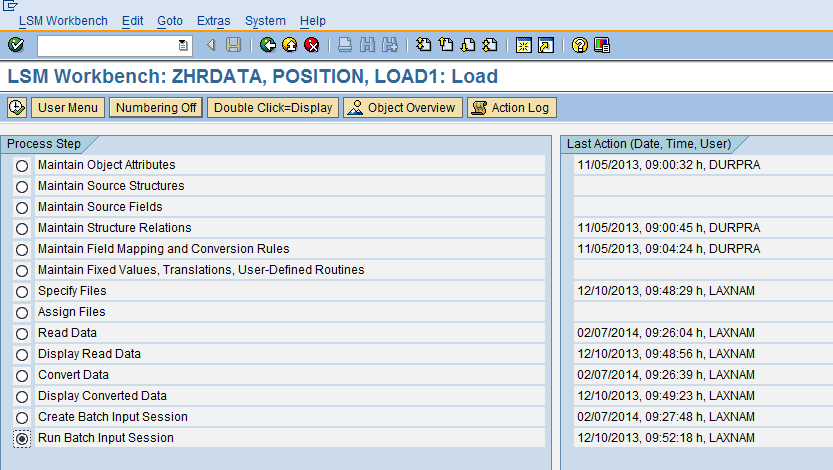
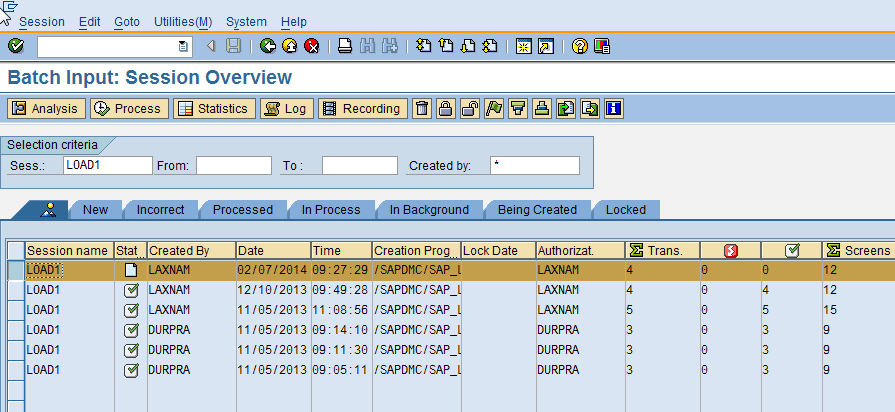
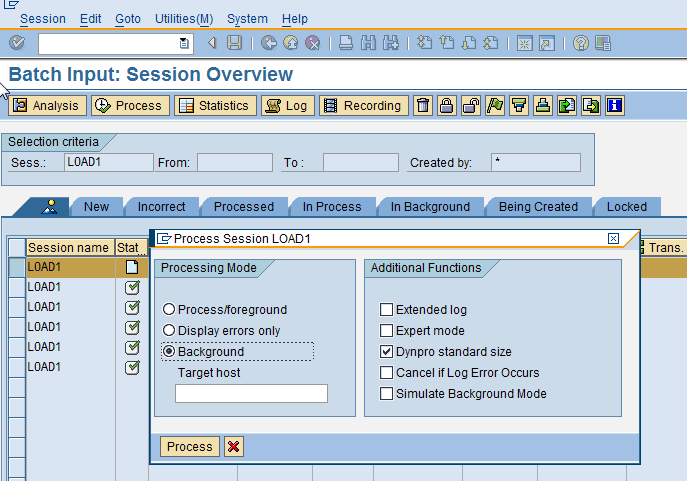
Transaction code to view the user to position assignment is PP02.
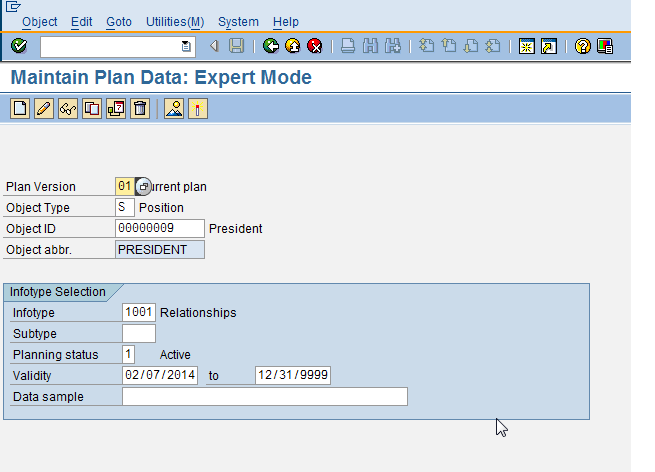
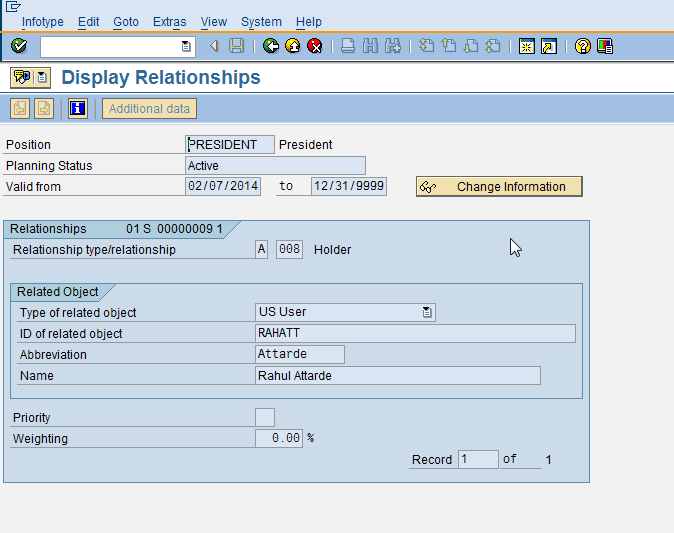
From the above example we can understand that position president is assigned to the user RAHATT.
Common Issues
-NA-
Resolutions
-NA -
Release Information
Provide link here to Release Notes